Daikin Zone Controllers optimize HVAC performance by regulating temperature, humidity, and airflow in specific zones. They enhance energy efficiency and provide precise control over indoor comfort, ensuring seamless operation.
1.1 Overview of Daikin Zone Controllers
Daikin Zone Controllers are advanced HVAC components designed to regulate temperature, humidity, and airflow in specific areas. They enhance system efficiency, reduce energy consumption, and provide precise control over indoor comfort. These controllers are compatible with various Daikin systems, including ducted and multi-split units, offering flexible solutions for residential and commercial spaces. Their intuitive design ensures seamless integration and operation.
1.2 Importance of Proper Installation
Proper installation of Daikin Zone Controllers ensures optimal efficiency, performance, and reliability. Incorrect installation can lead to reduced efficiency, increased energy costs, or system malfunctions. Adhering to manufacturer guidelines and best practices guarantees seamless operation, extends equipment lifespan, and maintains warranty validity. Proper installation also ensures safety, prevents potential hazards, and delivers the desired indoor comfort levels effectively.
Pre-Installation Requirements
Ensure system compatibility, gather necessary tools, and verify all materials are available. Check electrical and refrigerant connections, and review installation manuals for specific requirements and safety guidelines.
2.1 System Compatibility Check
Verify that the Daikin Zone Controller is compatible with the existing HVAC system, including the main unit, ductwork, and thermostats. Ensure all components meet manufacturer specifications for seamless integration and optimal performance. Check voltage requirements, communication protocols, and software versions to avoid installation issues. Compatibility ensures efficient operation and prevents potential malfunctions.
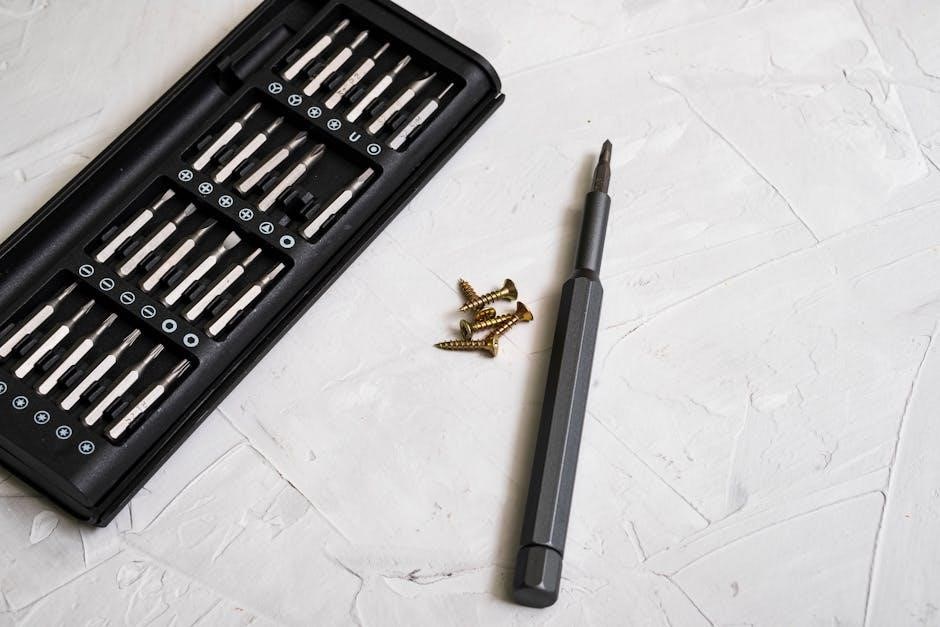
2.2 Tools and Materials Needed
The installation requires essential tools like screwdrivers, pliers, wrenches, and a drill for mounting. Materials include screws, wall anchors, wiring of various gauges, and tubing for connections. Safety gear such as gloves and safety glasses is necessary. A multimeter and voltage tester ensure electrical safety. Teflon tape prevents leaks, and ducting materials like tape and clamps may be needed. Specific tools like a programming device and the manual are recommended for setup. Fasteners like nuts and bolts secure the controller.
Safety Precautions
Always disconnect power before starting work. Use protective gear like gloves and safety glasses. Handle refrigerants with care to avoid exposure. Follow all safety guidelines strictly.
3.1 Electrical Safety Measures
Ensure the power supply is turned off before installation. Verify voltage compatibility with the Daikin controller. Use appropriate circuit protection devices. Avoid overloading circuits to prevent electrical hazards. Always ground equipment correctly and follow local electrical codes for safe installation and operation.
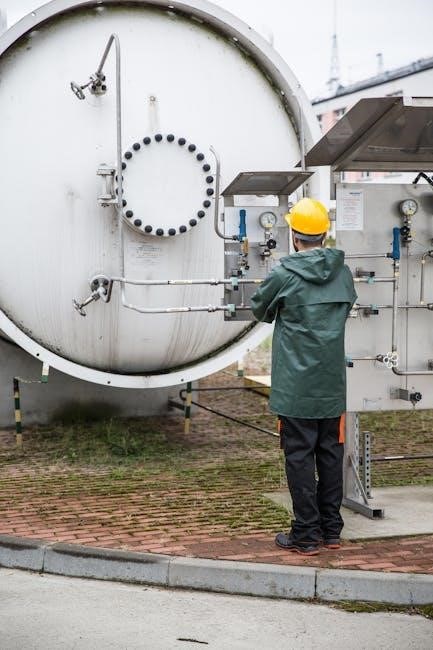
3.2 Handling Refrigerants Safely
Always wear protective gear when handling refrigerants. Ensure proper ventilation in the workspace. Follow Daikin guidelines for refrigerant charging and recovery. Avoid direct contact with refrigerants, as they can cause skin irritation or respiratory issues. Use approved equipment to prevent leaks and environmental contamination. Adhere to local regulations for safe handling and disposal of refrigerants.
Wiring and Piping Connections
Connect the zone controller to the main HVAC unit, ensuring proper wiring for power, sensors, and communication. Use compatible piping for refrigerant lines, following Daikin guidelines to prevent leaks and ensure optimal system performance.
4.1 Connecting the Zone Controller to the Main Unit
Connect the Daikin zone controller to the main HVAC unit by following the wiring diagram in the manual. Ensure all communication and power lines are securely linked. Verify compatibility of connectors and sensors. Tighten all connections to avoid signal loss or electrical issues. Double-check wiring to prevent short circuits and ensure smooth communication between the controller and the main unit for optimal performance.
4.2 Configuring Wiring for Multiple Zones
For multiple zones, configure the wiring to ensure each zone’s controller communicates with the main unit. Use dedicated wires for each zone to avoid interference. Follow the manual’s wiring diagram to connect sensors and actuators. Label each wire clearly to maintain organization. Test each zone’s operation post-configuration to confirm proper functionality and communication, ensuring all zones operate independently without conflicts or signal degradation.
Mounting the Zone Controller
Mount the Daikin Zone Controller securely, ensuring it is level and firmly fastened to prevent vibrations and ensure optimal airflow and performance.
5.1 Choosing the Optimal Location
Selecting the right location for the Daikin Zone Controller is crucial. It should be installed in a central area with stable temperatures, avoiding direct sunlight, moisture, or extreme temperatures. Ensure the location is accessible for maintenance and programming while maintaining clear space around the controller for proper airflow distribution.
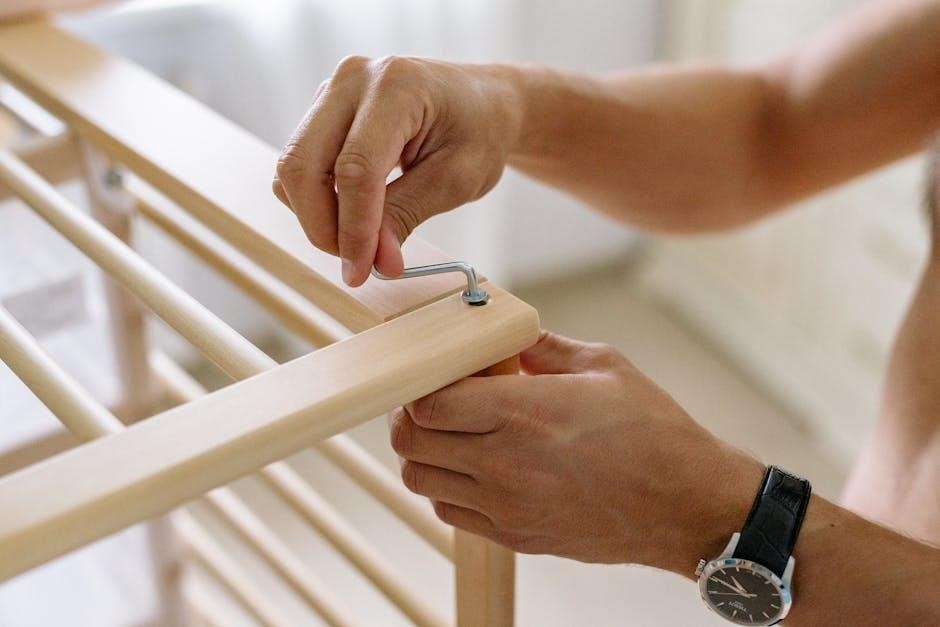
5.2 Securing the Controller to the Wall or Duct
Mount the Daikin Zone Controller using the supplied screws and brackets. Ensure it is level and securely fastened to the wall or duct to avoid any movement during operation. Do not overtighten to prevent damage. Verify that the controller is stable and all connections are firm. Proper securing ensures optimal performance, prevents potential issues, and maintains safety during operation.
Zone Configuration and Setup

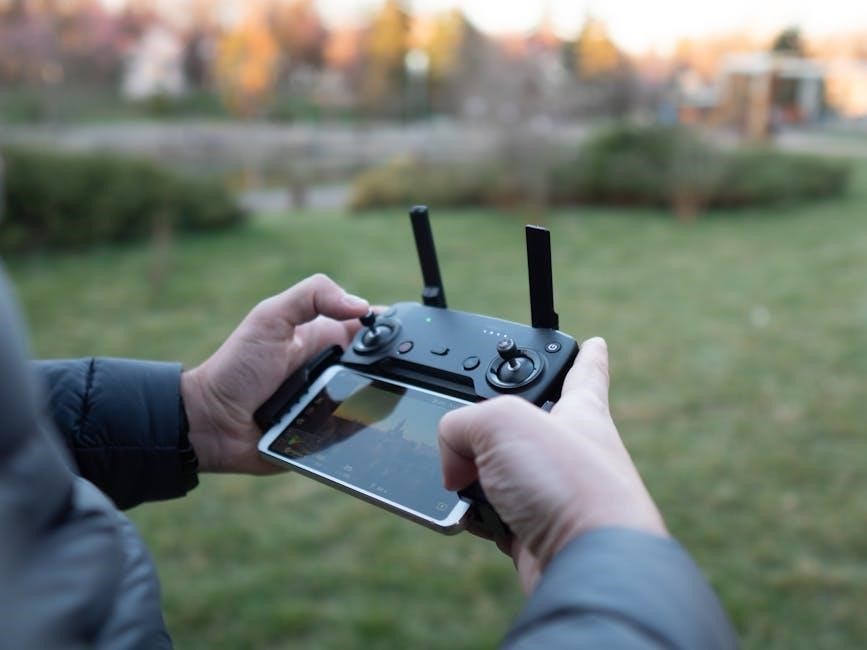
Configure zones by selecting desired areas using the remote controller. LEDs indicate active zones, ensuring precise temperature control. Follow manual instructions for optimal setup and performance.
6.1 Defining Zones and Assigning Controllers
Define zones based on space layout and comfort needs. Assign each zone to a specific controller using the remote or manual settings. Ensure each zone is labeled clearly for easy operation. This step ensures personalized temperature control and efficient system performance. Proper assignment is crucial for maintaining desired comfort levels across all zones seamlessly.
6.2 Programming the Controller for Optimal Performance
Program the controller by setting schedules, adjusting fan speeds, and enabling energy-saving modes. Use the remote to select zones and customize settings. Ensure optimal performance by syncing the controller with the main unit. Regularly update settings to match usage patterns. Proper programming enhances efficiency, reduces energy waste, and maintains consistent comfort levels across all zones. Refer to the manual for detailed instructions.

Testing the System Post-Installation
After installation, test the system to ensure all zones operate correctly. Verify temperature control, airflow, and zone isolation. Check for leaks and proper refrigerant flow to confirm efficiency and performance.
7.1 Verifying Zone Operations
After installation, activate each zone to ensure proper functionality. Use the remote controller to test temperature adjustments and airflow distribution. Confirm that each zone operates independently and responds accurately to commands. Check for consistent cooling or heating across all zones. Ensure the controller’s LEDs indicate active zones correctly. Verify that the system cycles on and off as programmed, maintaining desired conditions effectively.
7.2 Checking for Leaks and Proper Airflow
Inspect all piping connections and joints for signs of leaks using a soap solution or electronic leak detector. Ensure proper airflow by verifying duct integrity and checking for blockages. Measure airflow rates at vents to confirm they meet system specifications. Ensure zoning dampers are functioning correctly and that air distribution is balanced across all zones for optimal performance and efficiency.

Troubleshooting Common Issues
Identify and resolve common issues like sensor malfunctions or wiring problems. Regular maintenance and user guidance can help prevent recurring problems and ensure system reliability.
8.1 Diagnosing Error Codes
Daikin zone controllers display error codes to indicate specific issues. Codes like “UH” or “A5” often relate to sensor malfunctions or communication errors. Always refer to the manual for code meanings. Check sensors, wiring, and connections for faults. Resetting the controller or replacing faulty components may resolve issues. Addressing error codes promptly ensures optimal system performance and prevents further malfunctions.
8.2 Resolving Connectivity Problems
Connectivity issues with Daikin zone controllers often stem from wiring faults or misconfigurations. Check all connections between the controller and main unit. Ensure proper communication settings and verify signal strength. Resetting the controller or updating firmware may resolve issues. If problems persist, consult the manual or contact a professional to ensure seamless system operation and maintain optimal performance.

Final Checks and Customer Handover
After installation, ensure the system operates efficiently. Conduct final tests and demonstrate system operation to the customer. Provide maintenance tips and usage guidelines for optimal performance.
9.1 Ensuring System Efficiency
Verify that all zones function correctly and efficiently. Check temperature consistency, airflow balance, and system responsiveness. Ensure proper refrigerant levels, duct insulation, and thermostat calibration. Address any leaks or malfunctions promptly to maintain peak performance and energy savings. These steps ensure the Daikin Zone Controller operates at its optimal capacity, providing reliable comfort and efficiency.
9.2 Demonstrating Operation to the User
Guide the user through the zone controller’s features, such as zone selection, temperature adjustment, and timer settings. Demonstrate how to use the remote controller and navigate the manual. Highlight energy-saving modes and scheduling options. Ensure the user understands how to monitor and control each zone for optimal comfort and efficiency, addressing any questions they may have about daily operation and maintenance.
Proper installation ensures optimal performance of the Daikin Zone Controller. Regularly clean filters, inspect wiring, and update software to maintain efficiency and extend system lifespan.
10.1 Summary of Key Installation Steps
Start with compatibility checks and gather tools. Ensure electrical safety and proper wiring. Mount controllers in optimal locations and configure zones. Test operations, check for leaks, and troubleshoot issues. Finally, demonstrate system use and schedule regular maintenance to ensure long-term efficiency and reliability of the Daikin Zone Controller system.
10.2 Recommended Maintenance Practices
Regularly clean filters, inspect wiring, and check for refrigerant leaks. Update software periodically and ensure proper insulation of pipes. Monitor error codes and address issues promptly. Schedule annual professional servicing to maintain efficiency. Replace worn-out parts and ensure controllers are free from dust. Proper maintenance ensures optimal performance, energy savings, and extends the system’s lifespan.